
Clay

The process starts with clay, which I dig out of my back yard. I don’t mind the term “wild clay”, but it does seem a bit silly as it implies the existence of domesticated clay, manufactured clay, or synthetic clay. While we do have commercially blended clays, clay is a fundamentally natural material, one of the most common on earth. And I am going to share what I’ve learned about it.
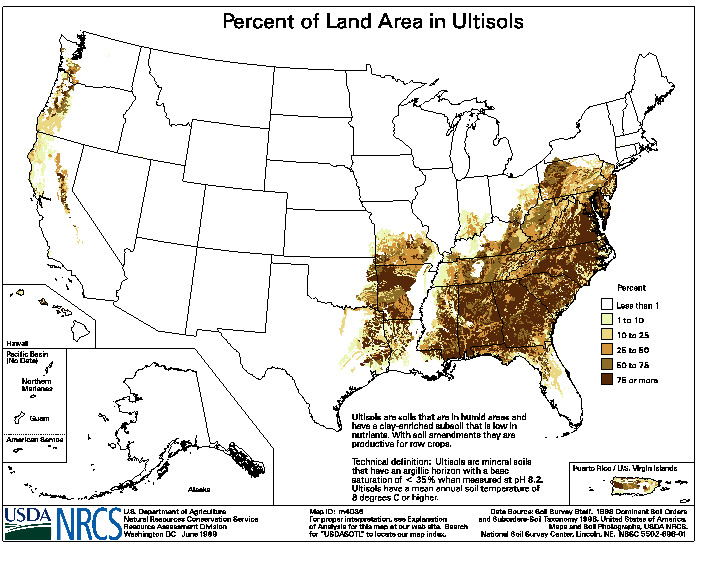
This whole clay obsession started with a different obsession: I have a hill in the back yard, and decided to build a retaining wall. When I started digging, I found that I, like the majority of the southeast United States and other parts of the world, lived atop a vast deposit of red clay. According to the USDA soil taxonomy, this is referred to as Ultisol. Its mostly red clay, full of impurities, and its use is generally frowned upon by the ceramics community, as the impurities present in the clay vary greatly by region, and can cause the clay to melt lower temperature (ruining kilns in the process). But, if you didn’t know any better you could make pots with it.
And thats what I did. Watched some of Andy Ward’s excellent youtube videos on primitive pottery, talked to some potters in the area, and eventually got a copy of Michael Cardew’s Pioneer Pottery online. This book changed my life, as it was exactly what I was hoping to accomplish: working within the limits of local ingredients to create functional, beautiful pottery. This book has everything from geology of clay, glaze chemistry, prospecting tips, kiln design, and the testing materials.
Processing your own clay is a huge waste of time. Its messy, requires space, time, and attention. Its finicky, and there is no guarantee that the resulting clay will work for what you hope to accomplish. I absolutely love it.
I start with a shovel and a bucket, scraping off the meager topsoil layer until I get to the dense, red clay beneath. You can make small test batches of, say, a yogurt-container-sized amount, but now that I’ve got my recipe I am working in batches of about 3-4 5-gallon buckets of clay at a time.

You don’t need to wet-mix your clay if you happen to live somewhere where the clay has the perfect consistency out of the ground and doesn’t need any additives. But, if like me you need to amend your clay, you really can’t get away with mixing ingredients dry – you will end up with lumpy clay with pockets of additives, and that can end up causing bloating, cracking, or other faults down the road, if you make it that far.
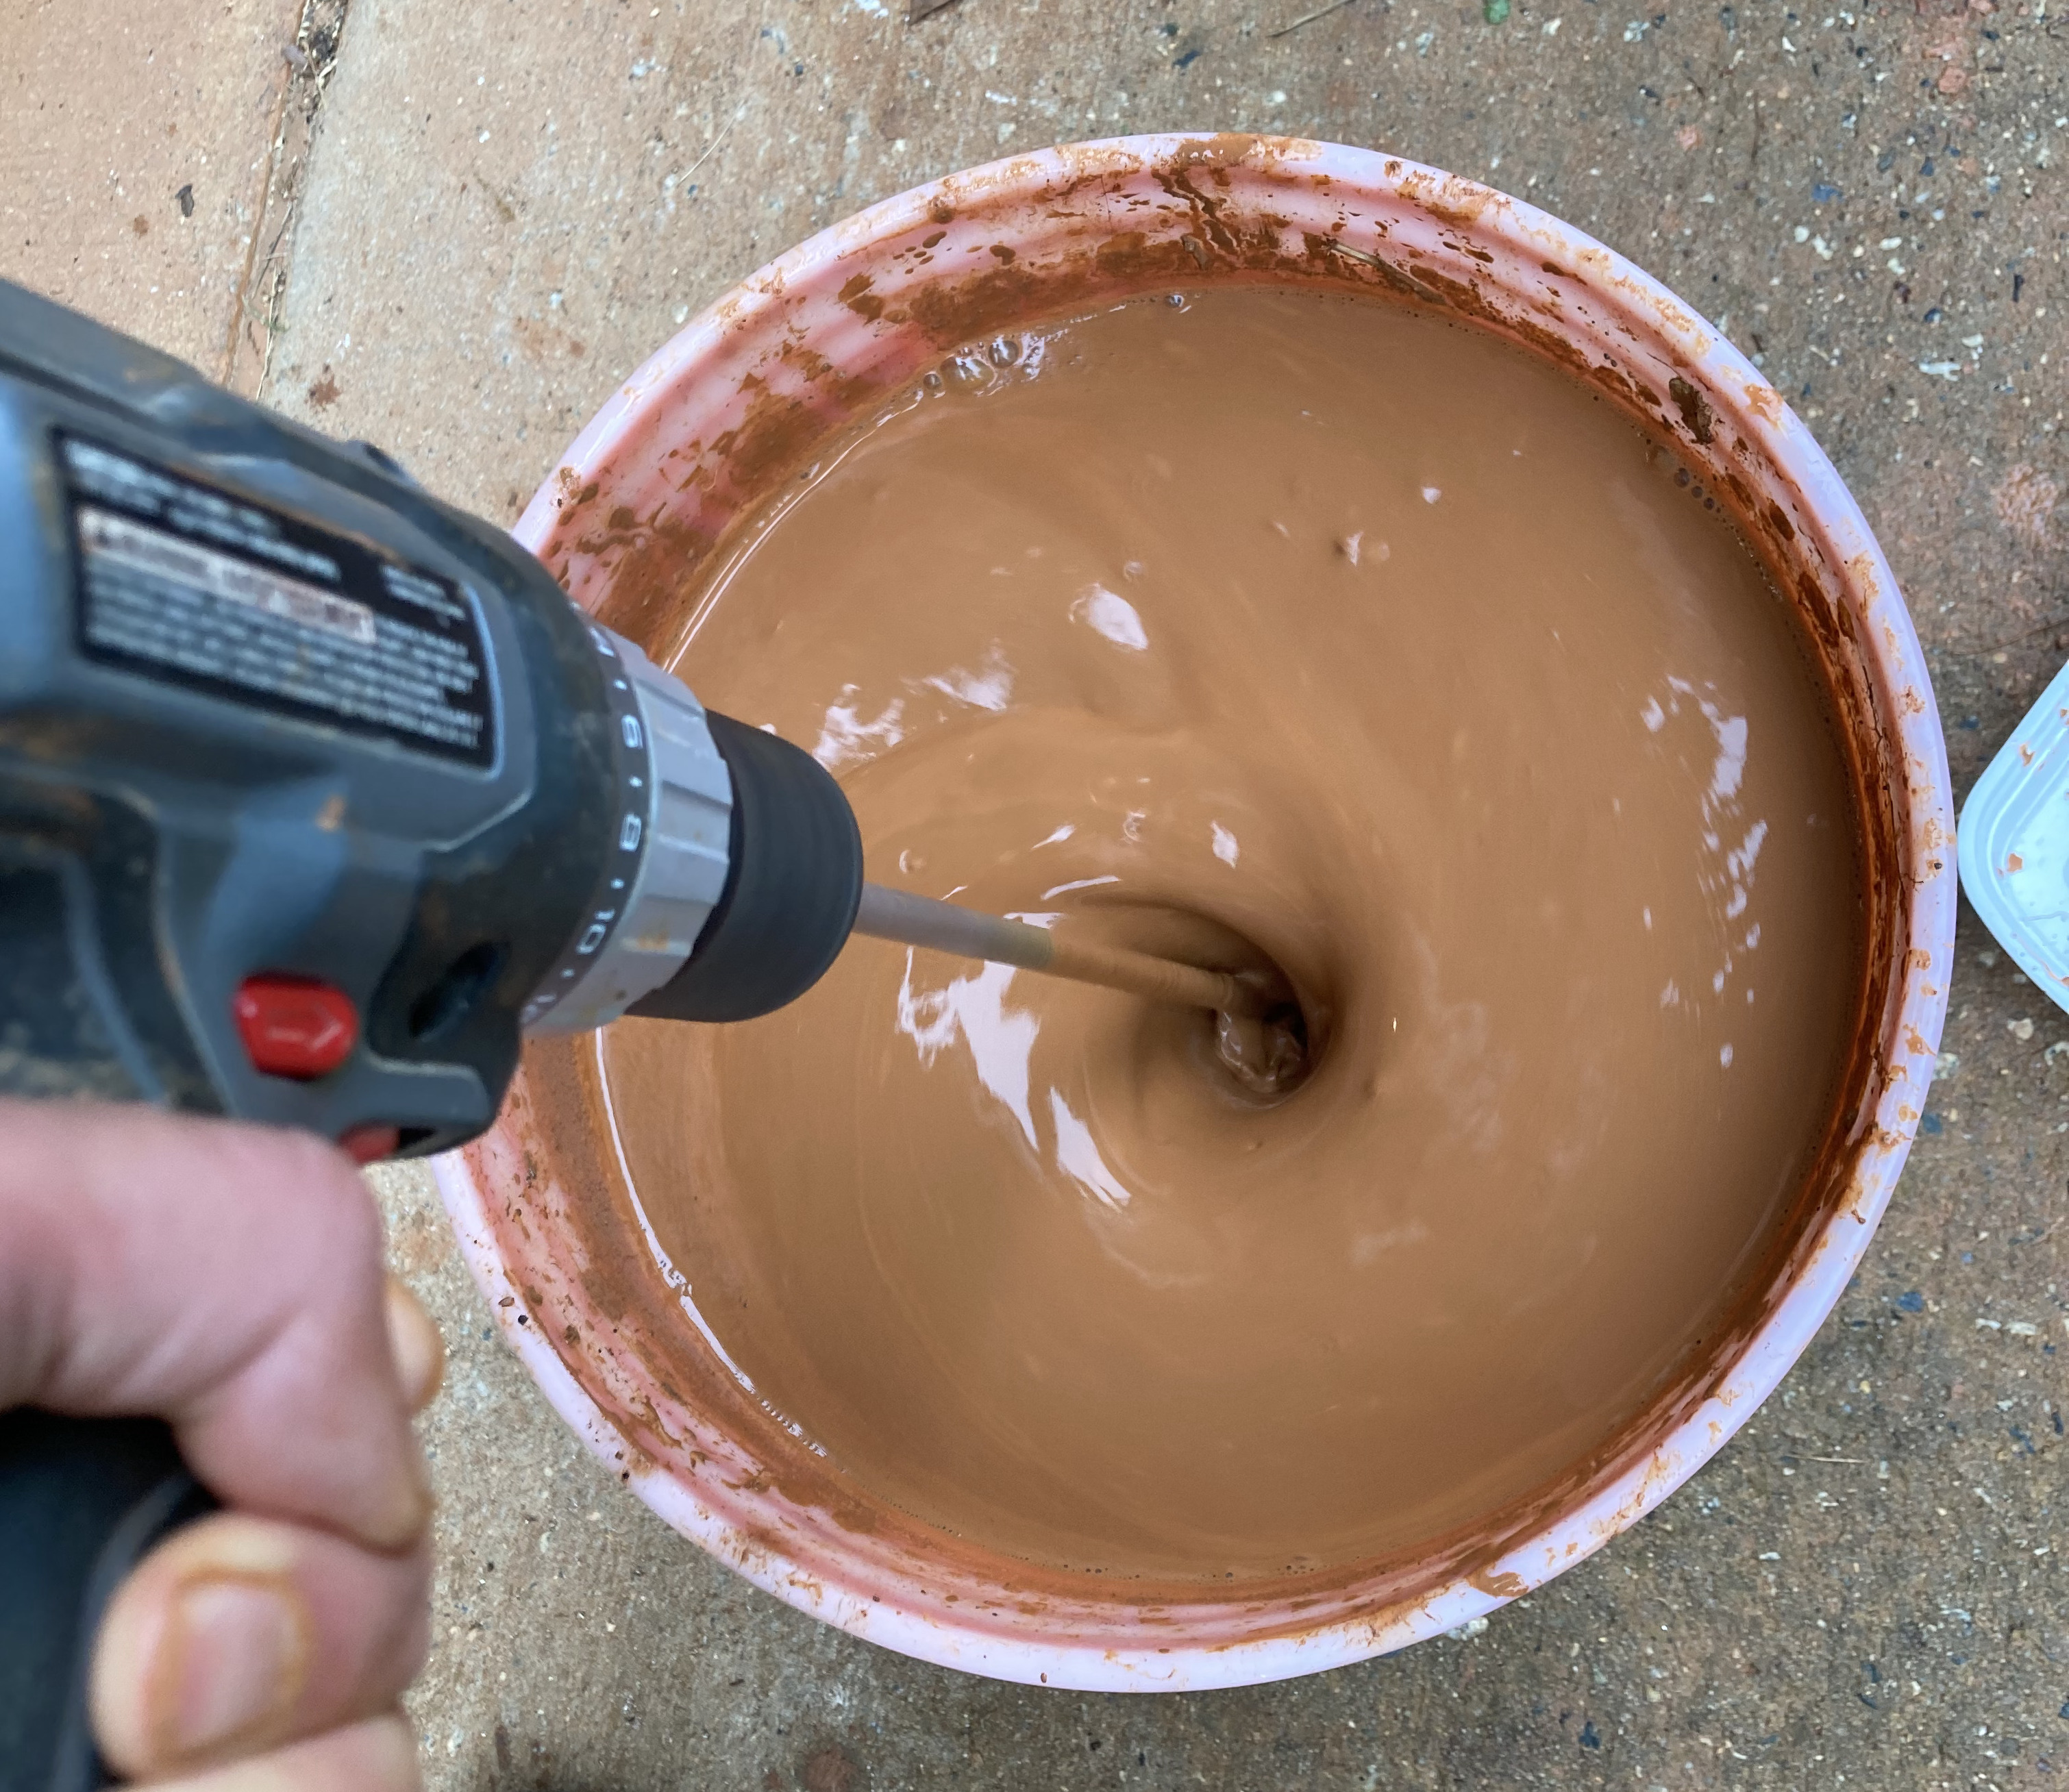
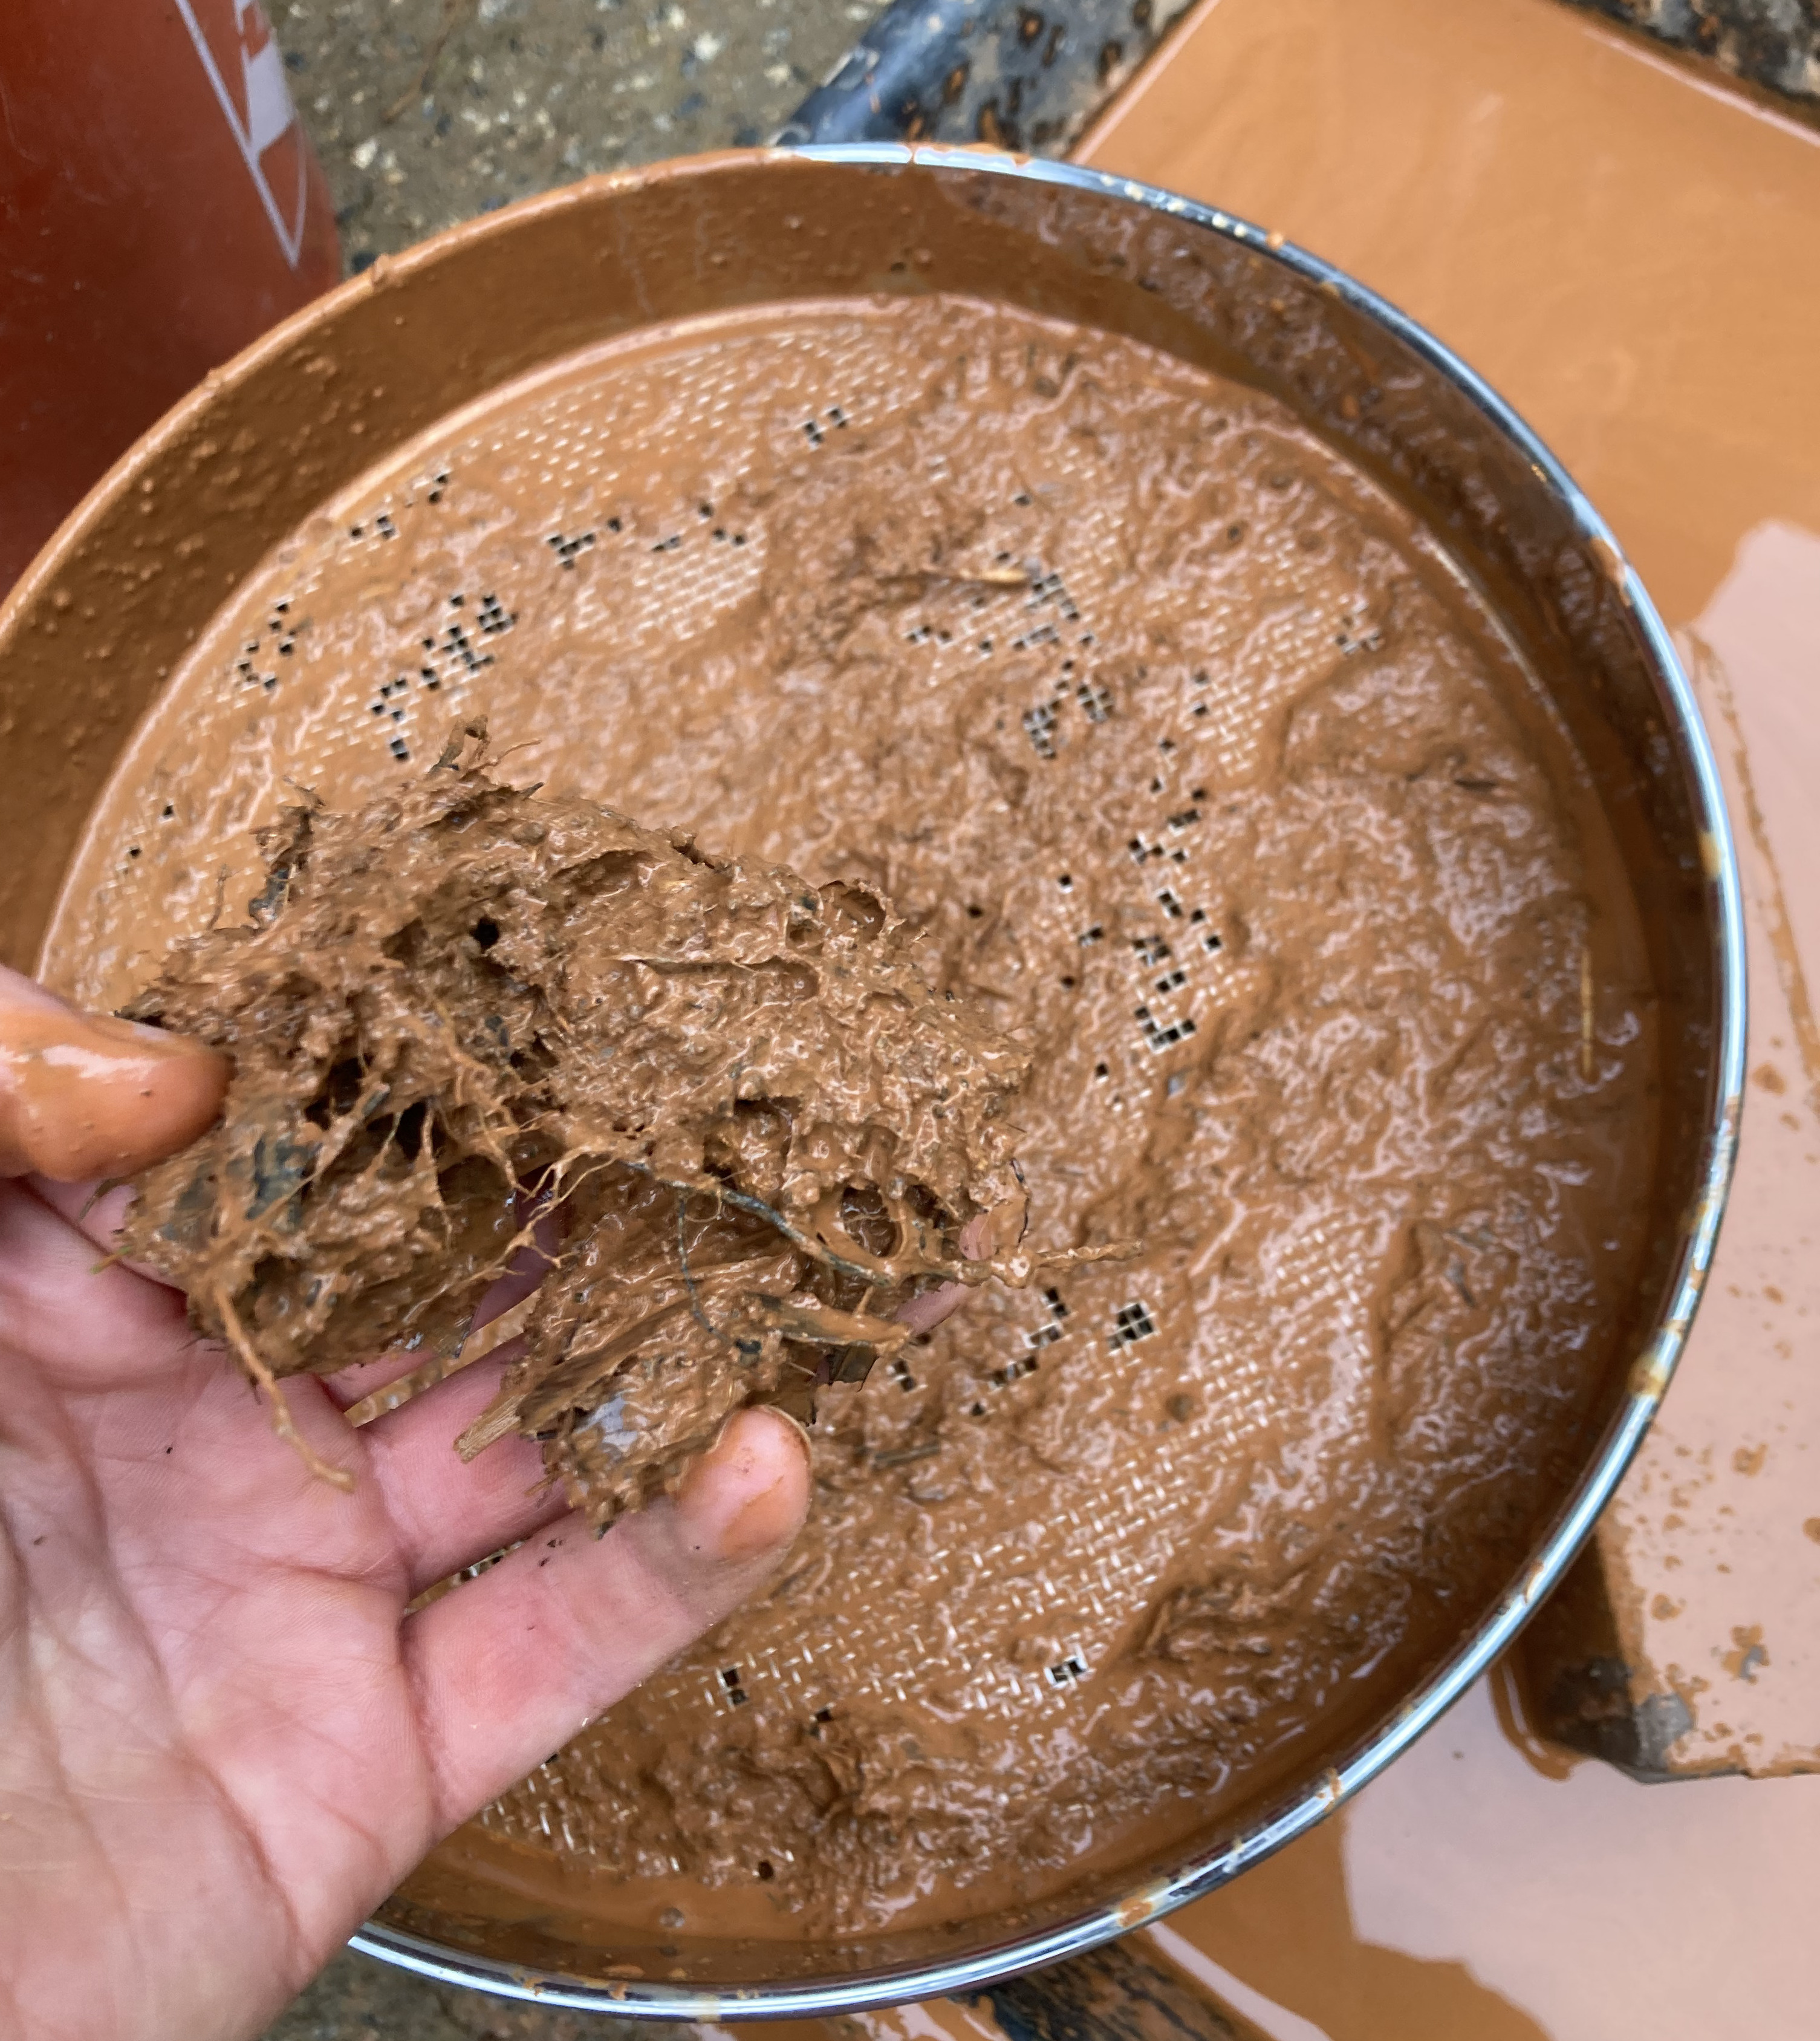
I work a bucket at a time, adding water and mashing a 2x4 until its a consistency where I can switch to a paint mixer. From there I do a few rounds of mixing, letting the heavy particles (sand, rocks, settle, and pouring off the suspended clay through a set of sieves. Then, since I am trying to avoid including the sludge at the bottom of the bucket, I add more water, and repeat the process 2-4 more times until there is no more sludge layer, just sand and rocks. I pour all this into a concrete mixing tub.
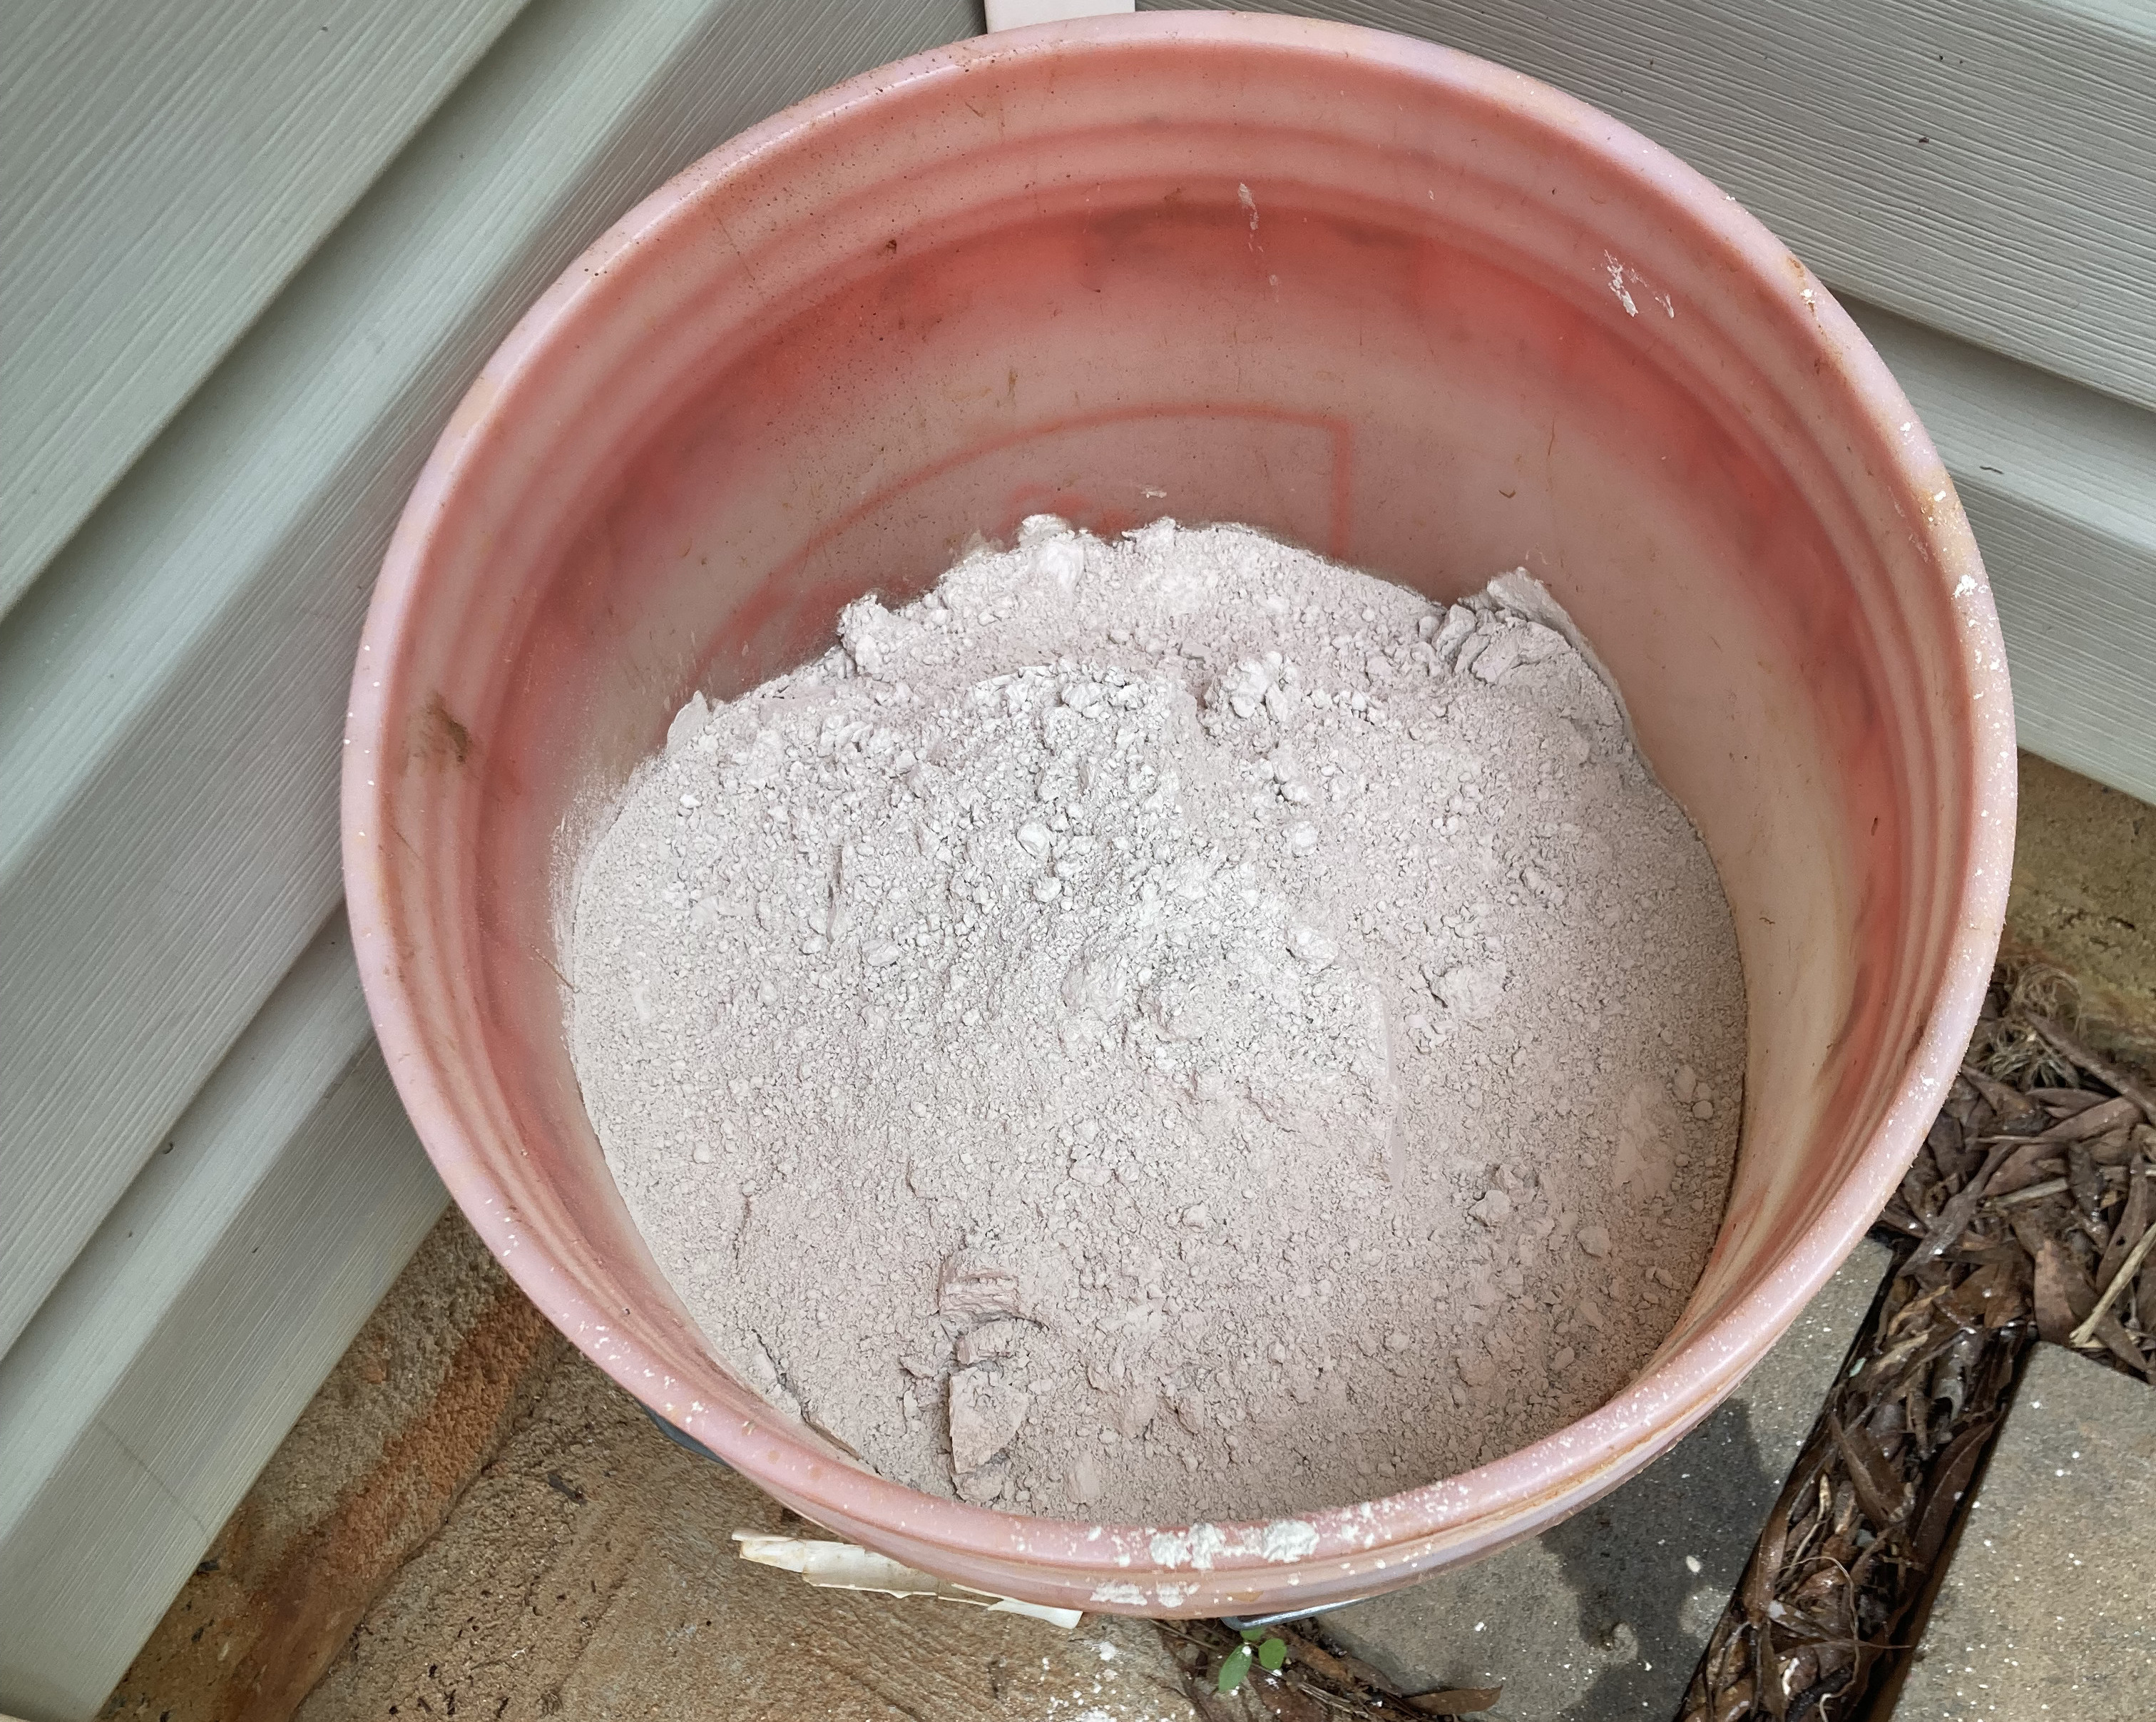
Since my clay needs some additives, I mix these up with water and add these to the concrete mixing tub as well, blending with the paint mixer.
Once that is completed, it become a waiting game. First, wait for a water layer to appear on top of your clay. You can pour that off or use a sponge, trying to retain as much of the fine clay as possible.
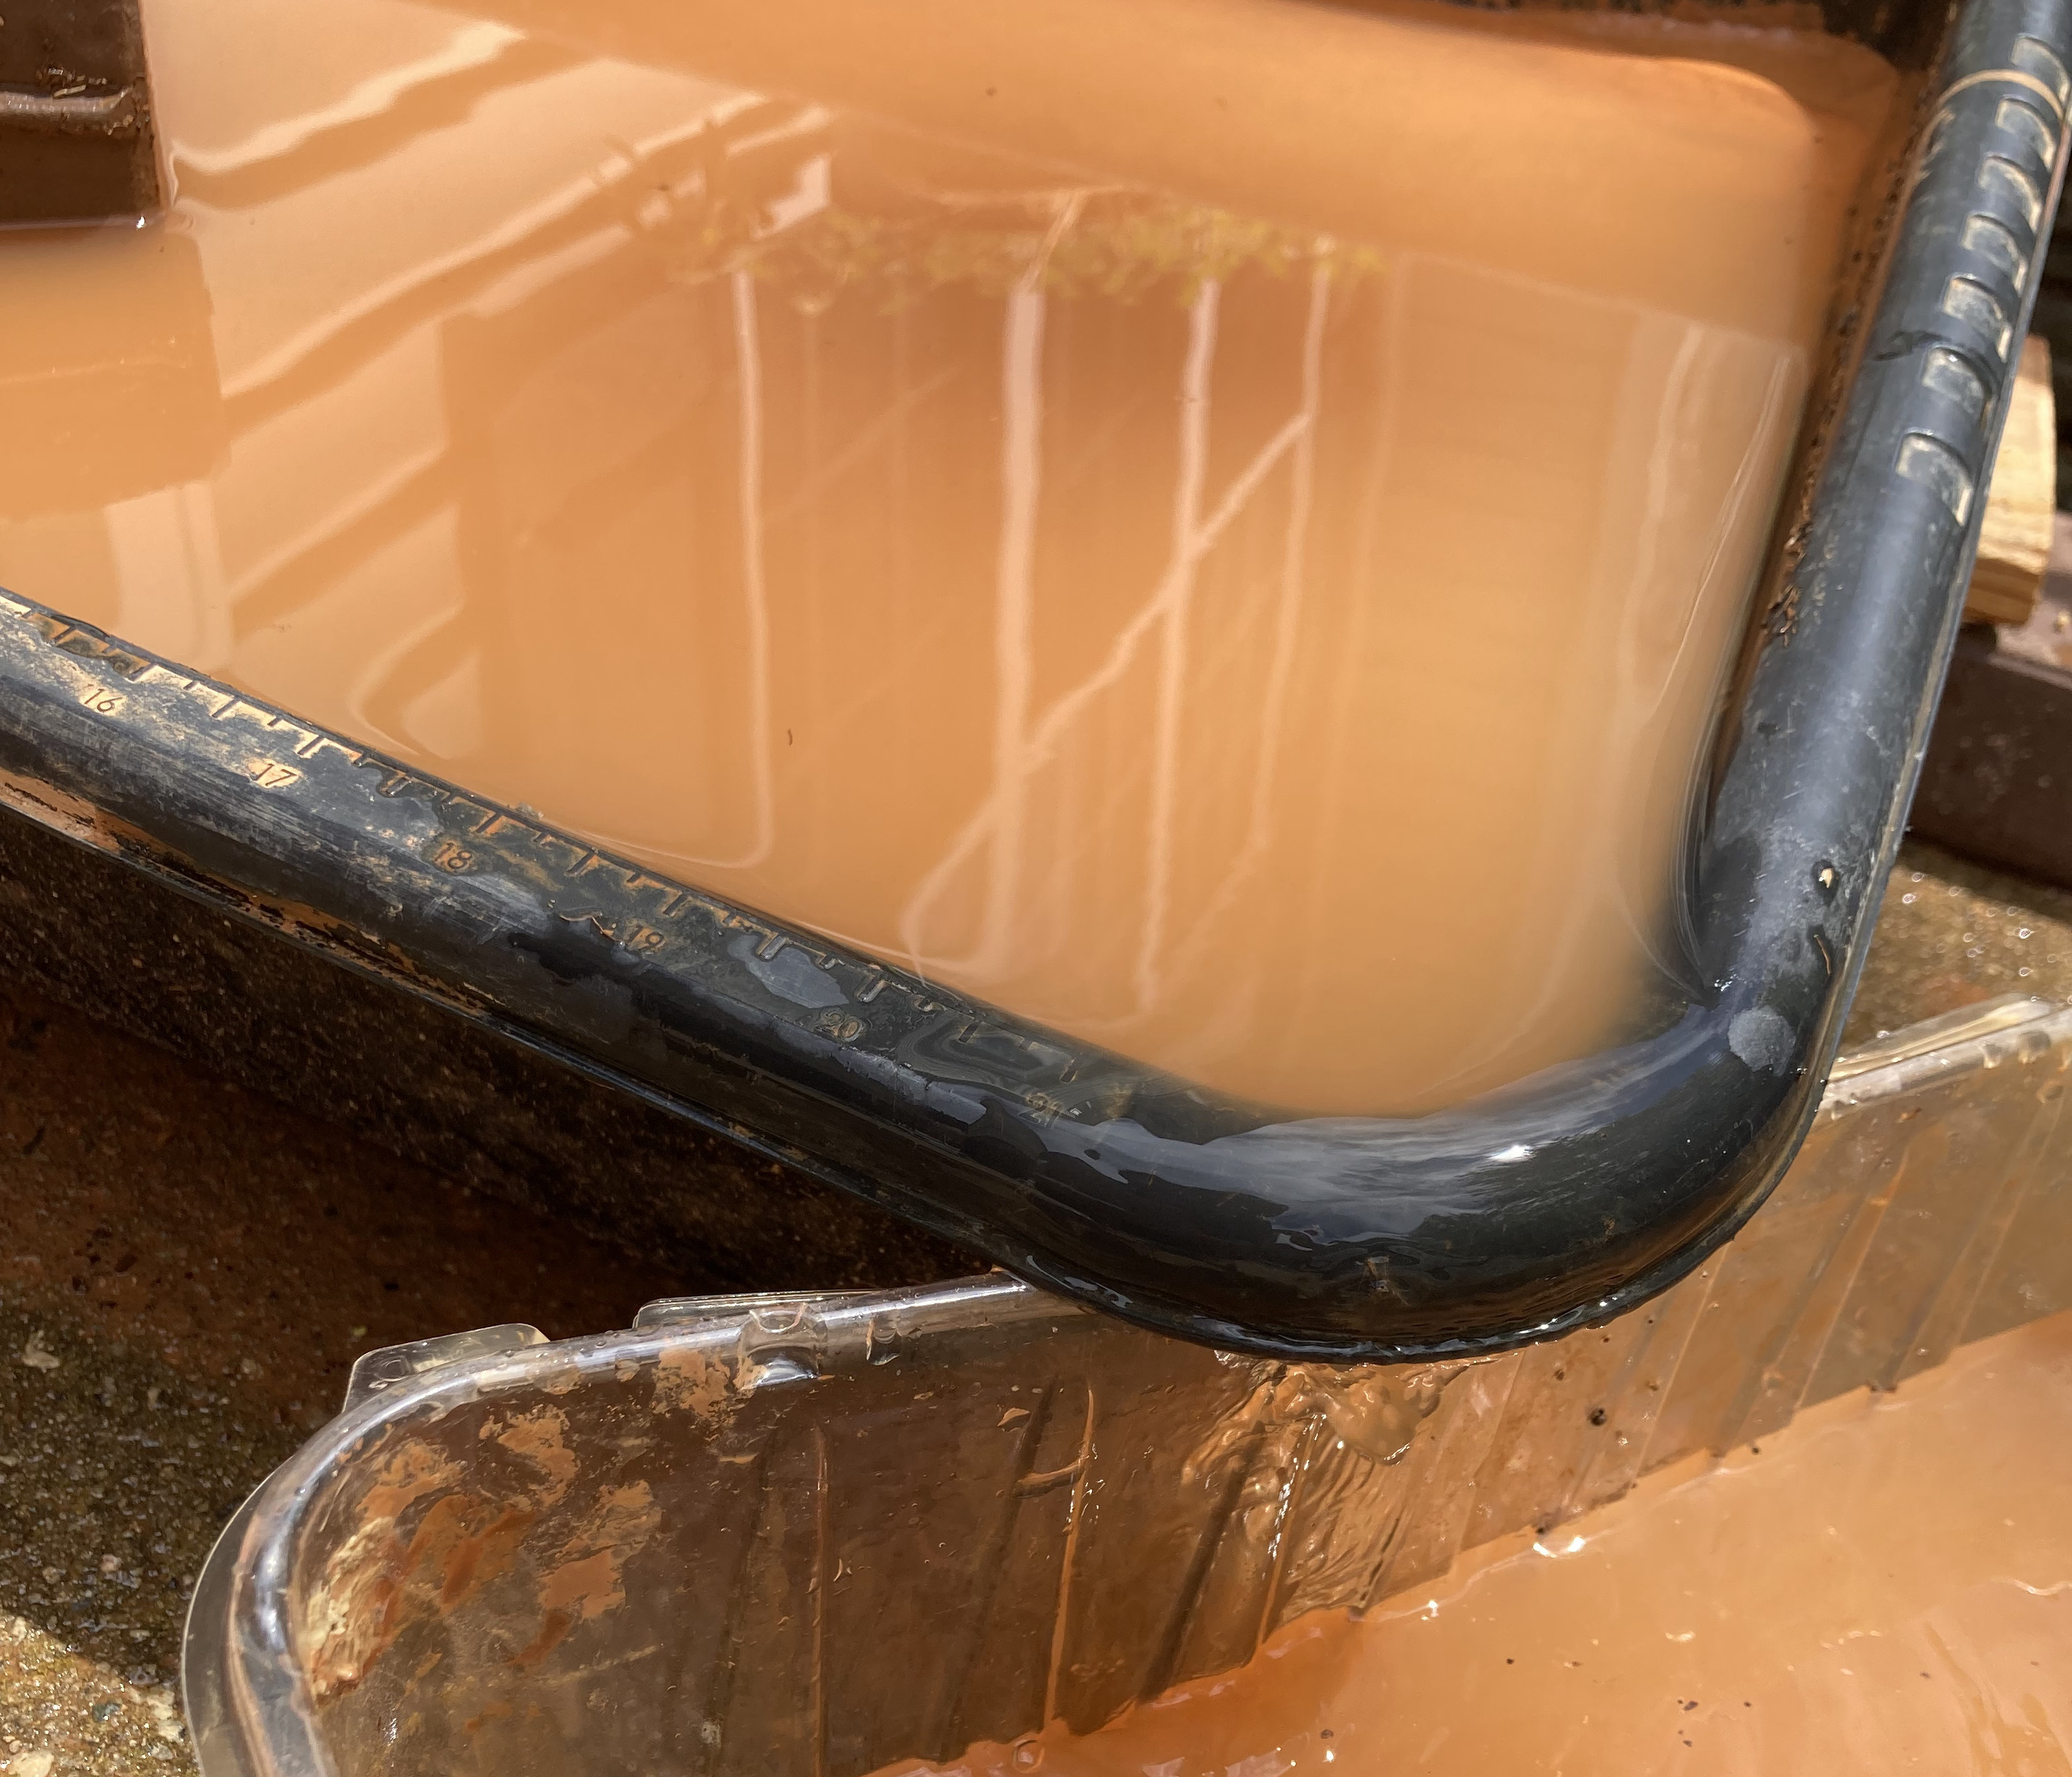
Once it reaches the consistency of (non-Greek) yogurt, I pour into a drying tray I made from a 2x4 frame, hardware cloth, and lined with fabric. I have this table propped up on bricks over a tray to collect the drips, and it lives in my garage so I don’t have to worry about the rain. The contents of the tray can be mixed gently over the course of the next few days and weeks, attempting to get the consistency even across the whole volume of clay.
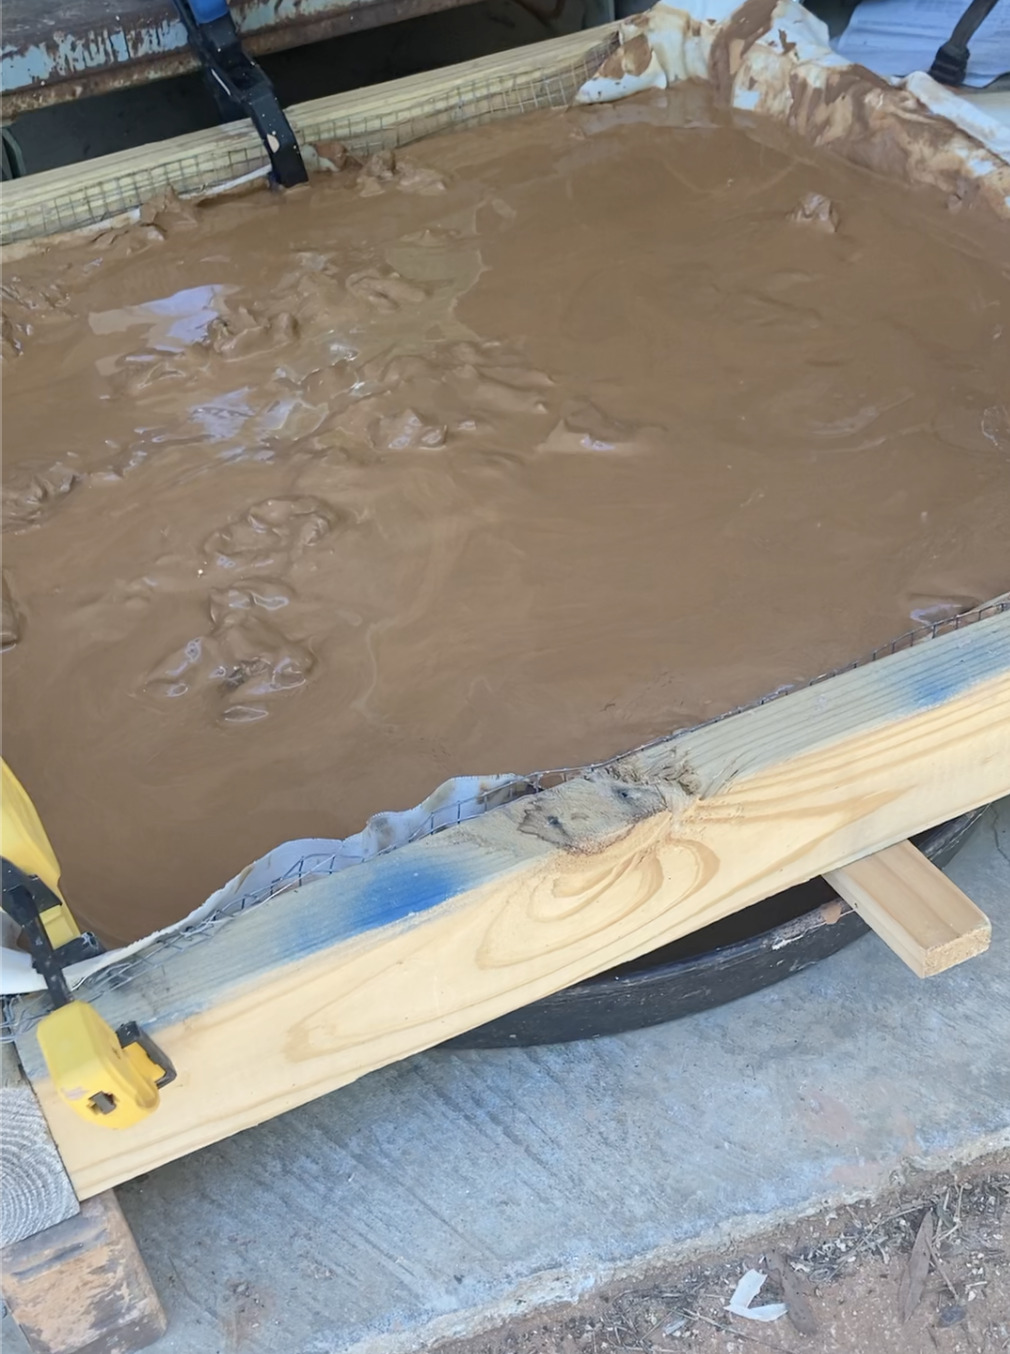
Once this is almost wedgeable, I remove it and bag it. As you probably know, re-hydrating too-dry clay is much less pleasant than drying out too-moist clay, so do yourself a favor and err on the side of too-moist. I’d rather let a slab of clay dry on a piece of cement board for 20 minutes if need be, compared to slicing clay and spraying water, submerging bags of clay, wrapping clay in wet towels, etc.
Determining the characteristics of your local clay is the most important task for anyone looking to utilize it. You will find advice bandied around the internet (“all red clay is earthenware” or “white clays are all refractory”), but there really is no substitute to testing your clay. You might be surprised, as I was, to find the local white clay melted around cone 1 and the redclay is refractory past cone 10. I can only speak about the clays that I have dug in my local area, but the principles I will describe below apply to testing local deposits.
There are a few things you can look at without even having to step foot outside:
1: Historic Utilization: is there any record of a local pottery in your area? Be it prehistoric or more recent,this is a great clue that local materials are available. To this day, clay is heavy and difficult to transport – potteries tend to pop up close to the source.
2: Geologic Survey Documents: has your area already been surveyed for geologic resources by your state, your country, or a university? Here in North Carolina, I have made use of the US Mining website, some documents from the state, and work from universities (eg this map from UNC) to find prior information about local clay.
Here I will defer to Andy Ward’s Ancient Pottery website. In short, keep an eye out for clay in your local area, when driving through road cuts, on Google Maps, and reach out to local potters for some tips.
The same site has great tips on checking for initial workability properties.
Now, its time for some in-depth testing.